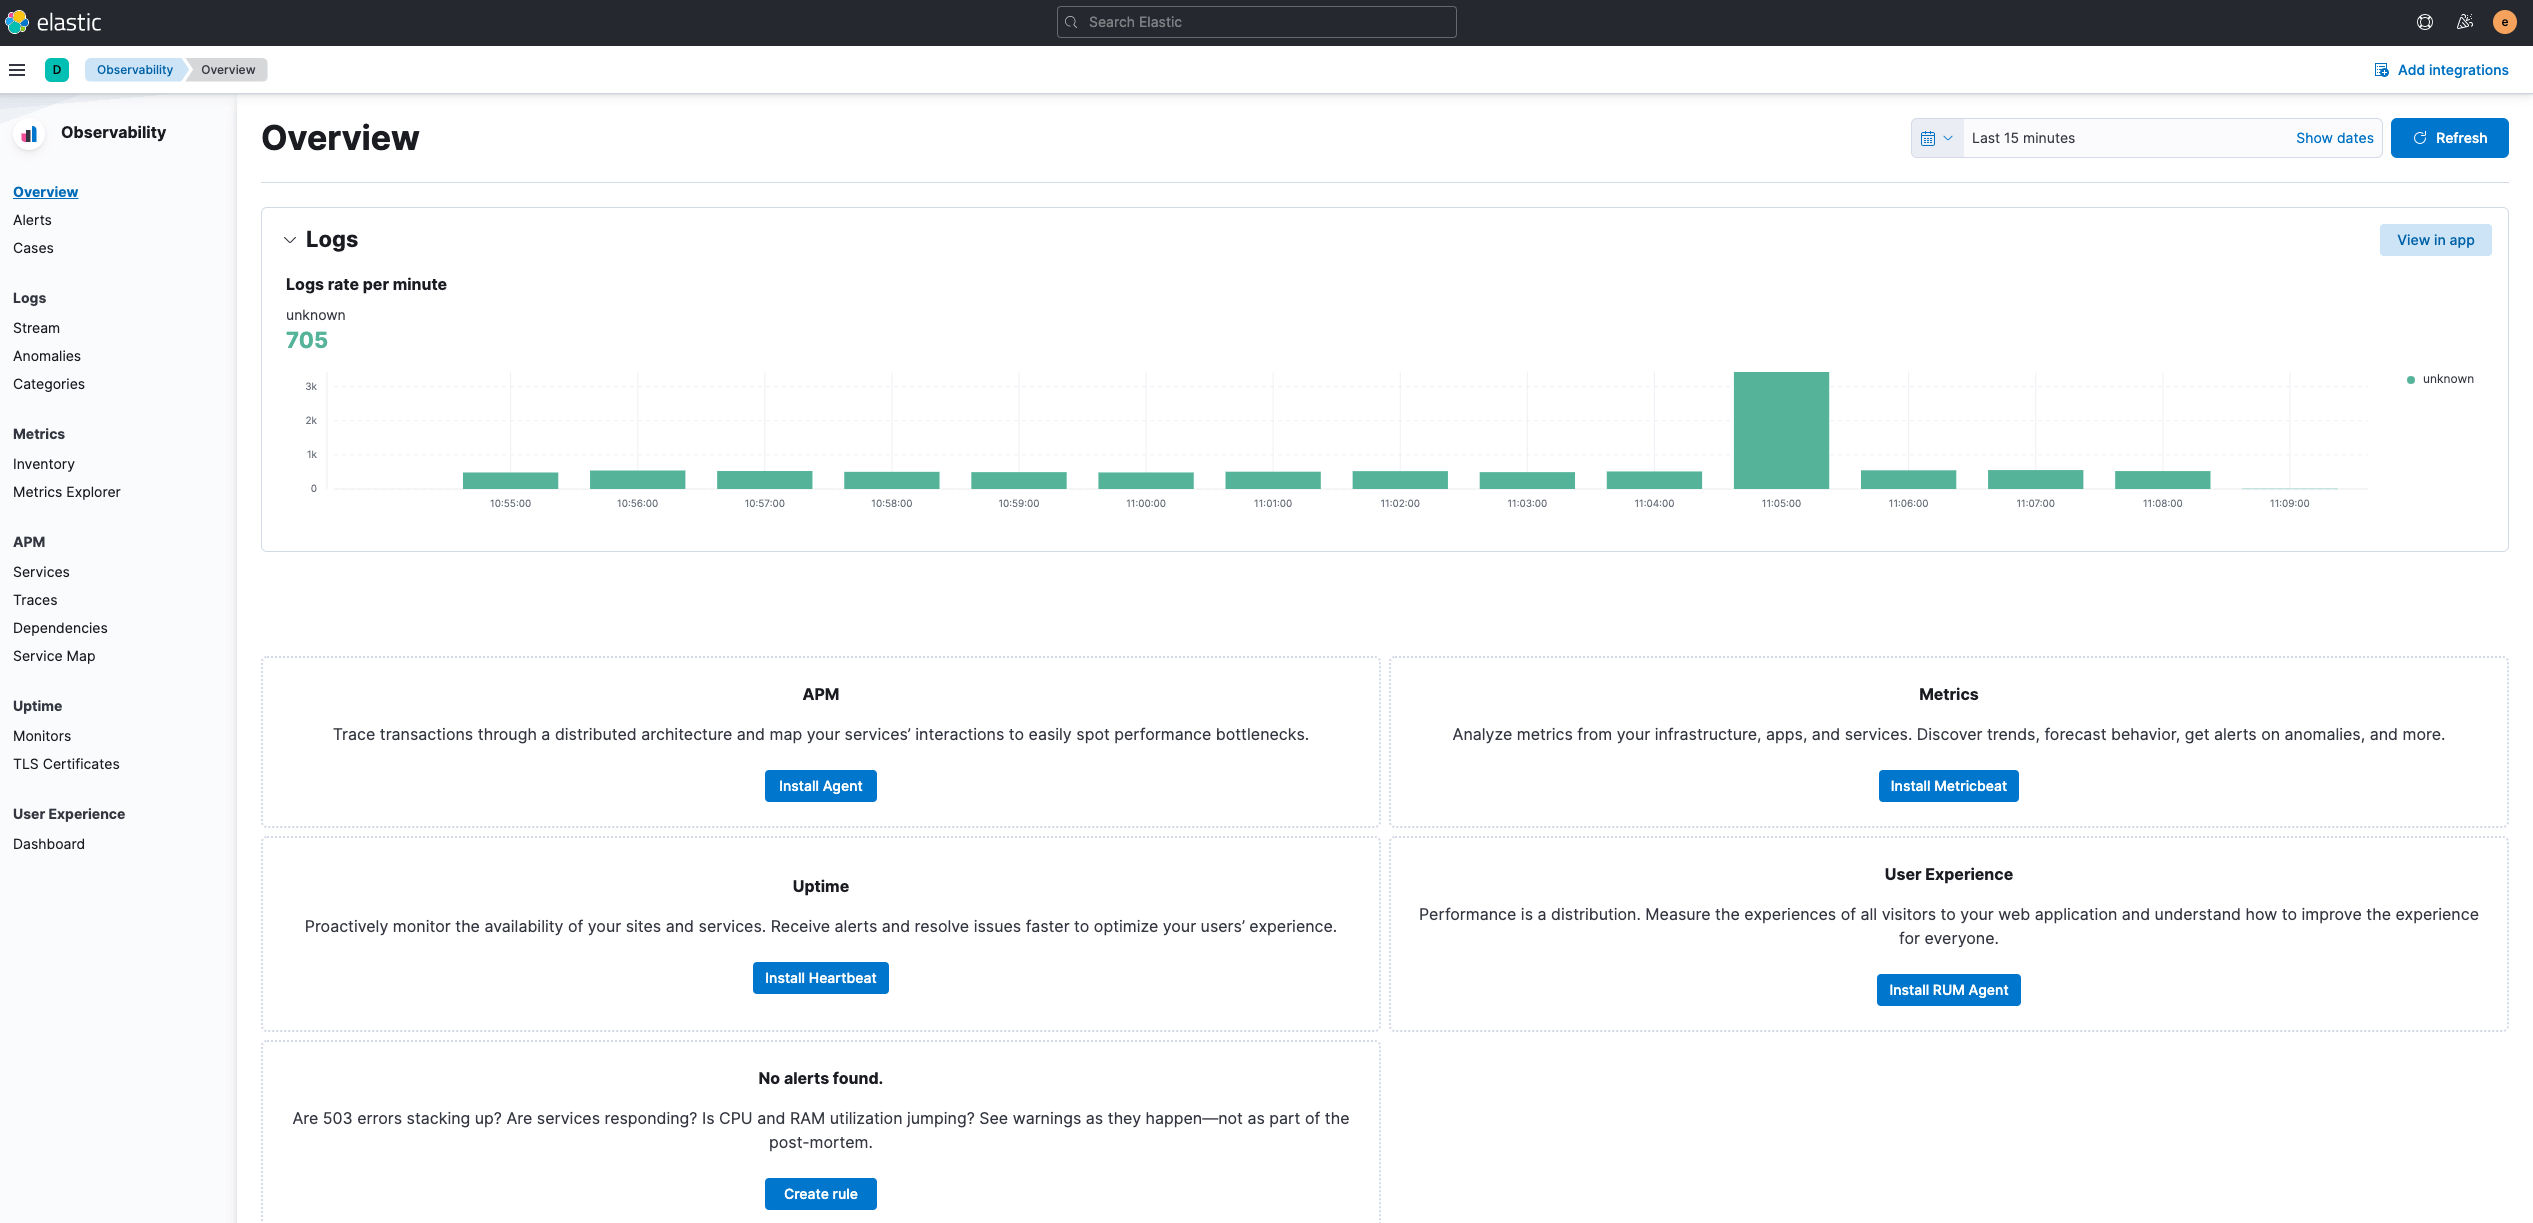
If Logstash is used to receive log input from Filebeat centrally, it is easy to cause performance bottleneck due to single machine; if Kafka is used to receive log input from Filebeat, the timeliness of logs is not guaranteed. Here, the logs collected by Filebeat are directly output to Elasticsearch.
1. Preparation
-
Node planning
Instead of distinguishing master, data, and client nodes, three nodes of a cluster are directly multiplexed here. If it is a very large Elasticsearch cluster, it is recommended to distinguish between control plane and data plane to improve stability.
-
Ensure the cluster has available default storage
-
Generate secret key
1 2 3 4 5 6 7 8 9 10 11 12export ELASTICSEARCH_IMAGE=k8simage/elasticsearch:7.17.5 docker rm -f elastic-helm-charts-certs || true rm -f elastic-certificates.p12 elastic-certificate.pem elastic-certificate.crt elastic-stack-ca.p12 || true docker run --name elastic-helm-charts-certs -i -w /tmp \ $ELASTICSEARCH_IMAGE \ /bin/sh -c " \ elasticsearch-certutil ca --out /tmp/elastic-stack-ca.p12 --pass '' && \ elasticsearch-certutil cert --name security-master --dns security-master --ca /tmp/elastic-stack-ca.p12 --pass '' --ca-pass '' --out /tmp/elastic-certificates.p12" && \ docker cp elastic-helm-charts-certs:/tmp/elastic-certificates.p12 ./ && \ docker rm -f elastic-helm-charts-certs && \ openssl pkcs12 -nodes -passin pass:'' -in elastic-certificates.p12 -out elastic-certificate.pem && \ openssl x509 -outform der -in elastic-certificate.pem -out elastic-certificate.crt -
Create Kubernetes Secret credentials
1
2
3
4
kubectl create ns elastic kubectl -n elastic create secret generic elastic-certificates --from-file=elastic-certificates.p12 kubectl -n elastic create secret generic elastic-certificate-pem --from-file=elastic-certificate.pem kubectl -n elastic create secret generic elastic-certificate-crt --from-file=elastic-certificate.crt -
Create login user and password
-
Add Elastic Helm Charts repository
1helm repo add elastic https://helm.elastic.co
2. Install Elasticsearch
-
Create a values.yaml file and configure the installation parameters
1vim es-master-values.yaml1 2 3 4 5 6 7 8 9 10 11 12 13 14 15 16 17 18 19 20 21 22 23 24 25 26 27 28 29 30 31 32 33 34 35 36 37 38 39clusterName: "elasticsearch" nodeGroup: "master" roles: master: "true" ingest: "true" data: "true" imageTag: 7.17.5 image: k8simage/elasticsearch volumeClaimTemplate: accessModes: ["ReadWriteOnce"] resources: requests: storage: 200Gi replicas: 3 esConfig: elasticsearch.yml: | xpack.security.enabled: true xpack.security.transport.ssl.enabled: true xpack.security.transport.ssl.verification_mode: certificate xpack.security.transport.ssl.keystore.path: /usr/share/elasticsearch/config/certs/elastic-certificates.p12 xpack.security.transport.ssl.truststore.path: /usr/share/elasticsearch/config/certs/elastic-certificates.p12 extraEnvs: - name: ELASTIC_PASSWORD valueFrom: secretKeyRef: name: elastic-credentials key: password secretMounts: - name: elastic-certificates secretName: elastic-certificates path: /usr/share/elasticsearch/config/certs antiAffinity: "soft" -
Start installing components
1helm install elasticsearch-master elastic/elasticsearch -n elastic --values es-master-values.yaml --set service.type=NodePort
3. Install Kibana
-
Create a values.yaml file and configure the installation parameters
1vim kibana-values.yaml1 2 3 4 5 6 7 8 9 10 11 12 13 14 15 16 17 18elasticsearchHosts: "http://elasticsearch-master.elastic.svc:9200" imageTag: 7.17.5 image: k8simage/kibana replicas: 1 extraEnvs: - name: "NODE_OPTIONS" value: "--max-old-space-size=1800" - name: "ELASTICSEARCH_USERNAME" valueFrom: secretKeyRef: name: elastic-credentials key: username - name: "ELASTICSEARCH_PASSWORD" valueFrom: secretKeyRef: name: elastic-credentials key: password -
Start installing components
1helm install kibana elastic/kibana -n elastic --values kibana-values.yaml --set service.type=NodePort
4. Install Filebeat
-
Create a values.yaml file and configure the installation parameters
1vim filebeat-values.yaml1 2 3 4 5 6 7 8 9 10 11 12 13 14 15 16 17 18 19 20 21 22 23 24 25 26 27 28 29 30 31image: k8simage/filebeat daemonset: extraEnvs: - name: "ELASTICSEARCH_USERNAME" valueFrom: secretKeyRef: name: elastic-credentials key: username - name: "ELASTICSEARCH_PASSWORD" valueFrom: secretKeyRef: name: elastic-credentials key: password filebeatConfig: filebeat.yml: | filebeat.inputs: - type: filestream id: varlog paths: - /var/log/*.log - type: container enabled: true paths: - /var/lib/docker/containers/*/*.log output.elasticsearch: host: "${NODE_NAME}" hosts: '["http://${ELASTICSEARCH_HOSTS:elasticsearch-master:9200}"]' username: "${ELASTICSEARCH_USERNAME}" password: "${ELASTICSEARCH_PASSWORD}" protocol: httpThe
filebeat.inputsinfilebeat.ymldetermines which logs filebeat will collect. -
Start installing components
1helm install filebeat elastic/filebeat -n elastic --values filebeat-values.yaml
5. Check the service verification function
- Ensure all services are started properly
|
|
-
View the accessed ports
1
2
3
4
5
6
kubectl -n elastic get svc NAME TYPE CLUSTER-IP EXTERNAL-IP PORT(S) AGE elasticsearch-master NodePort 10.233.35.209 <none> 9200:30093/TCP,9300:31743/TCP 10h elasticsearch-master-headless ClusterIP None <none> 9200/TCP,9300/TCP 10h kibana-kibana NodePort 10.233.53.16 <none> 5601:30454/TCP 11h -
Accessing Elasticsearch
Elasticsearch can be accessed via HOST_IP:30093, as shown below. At this point, you need to enter the account password, elastic:XXXXXXX, which is the account information set in the preparation.

Once the credentials are entered correctly, Elasticsearch will return information about the cluster.
|
|
- Accessing Kibana
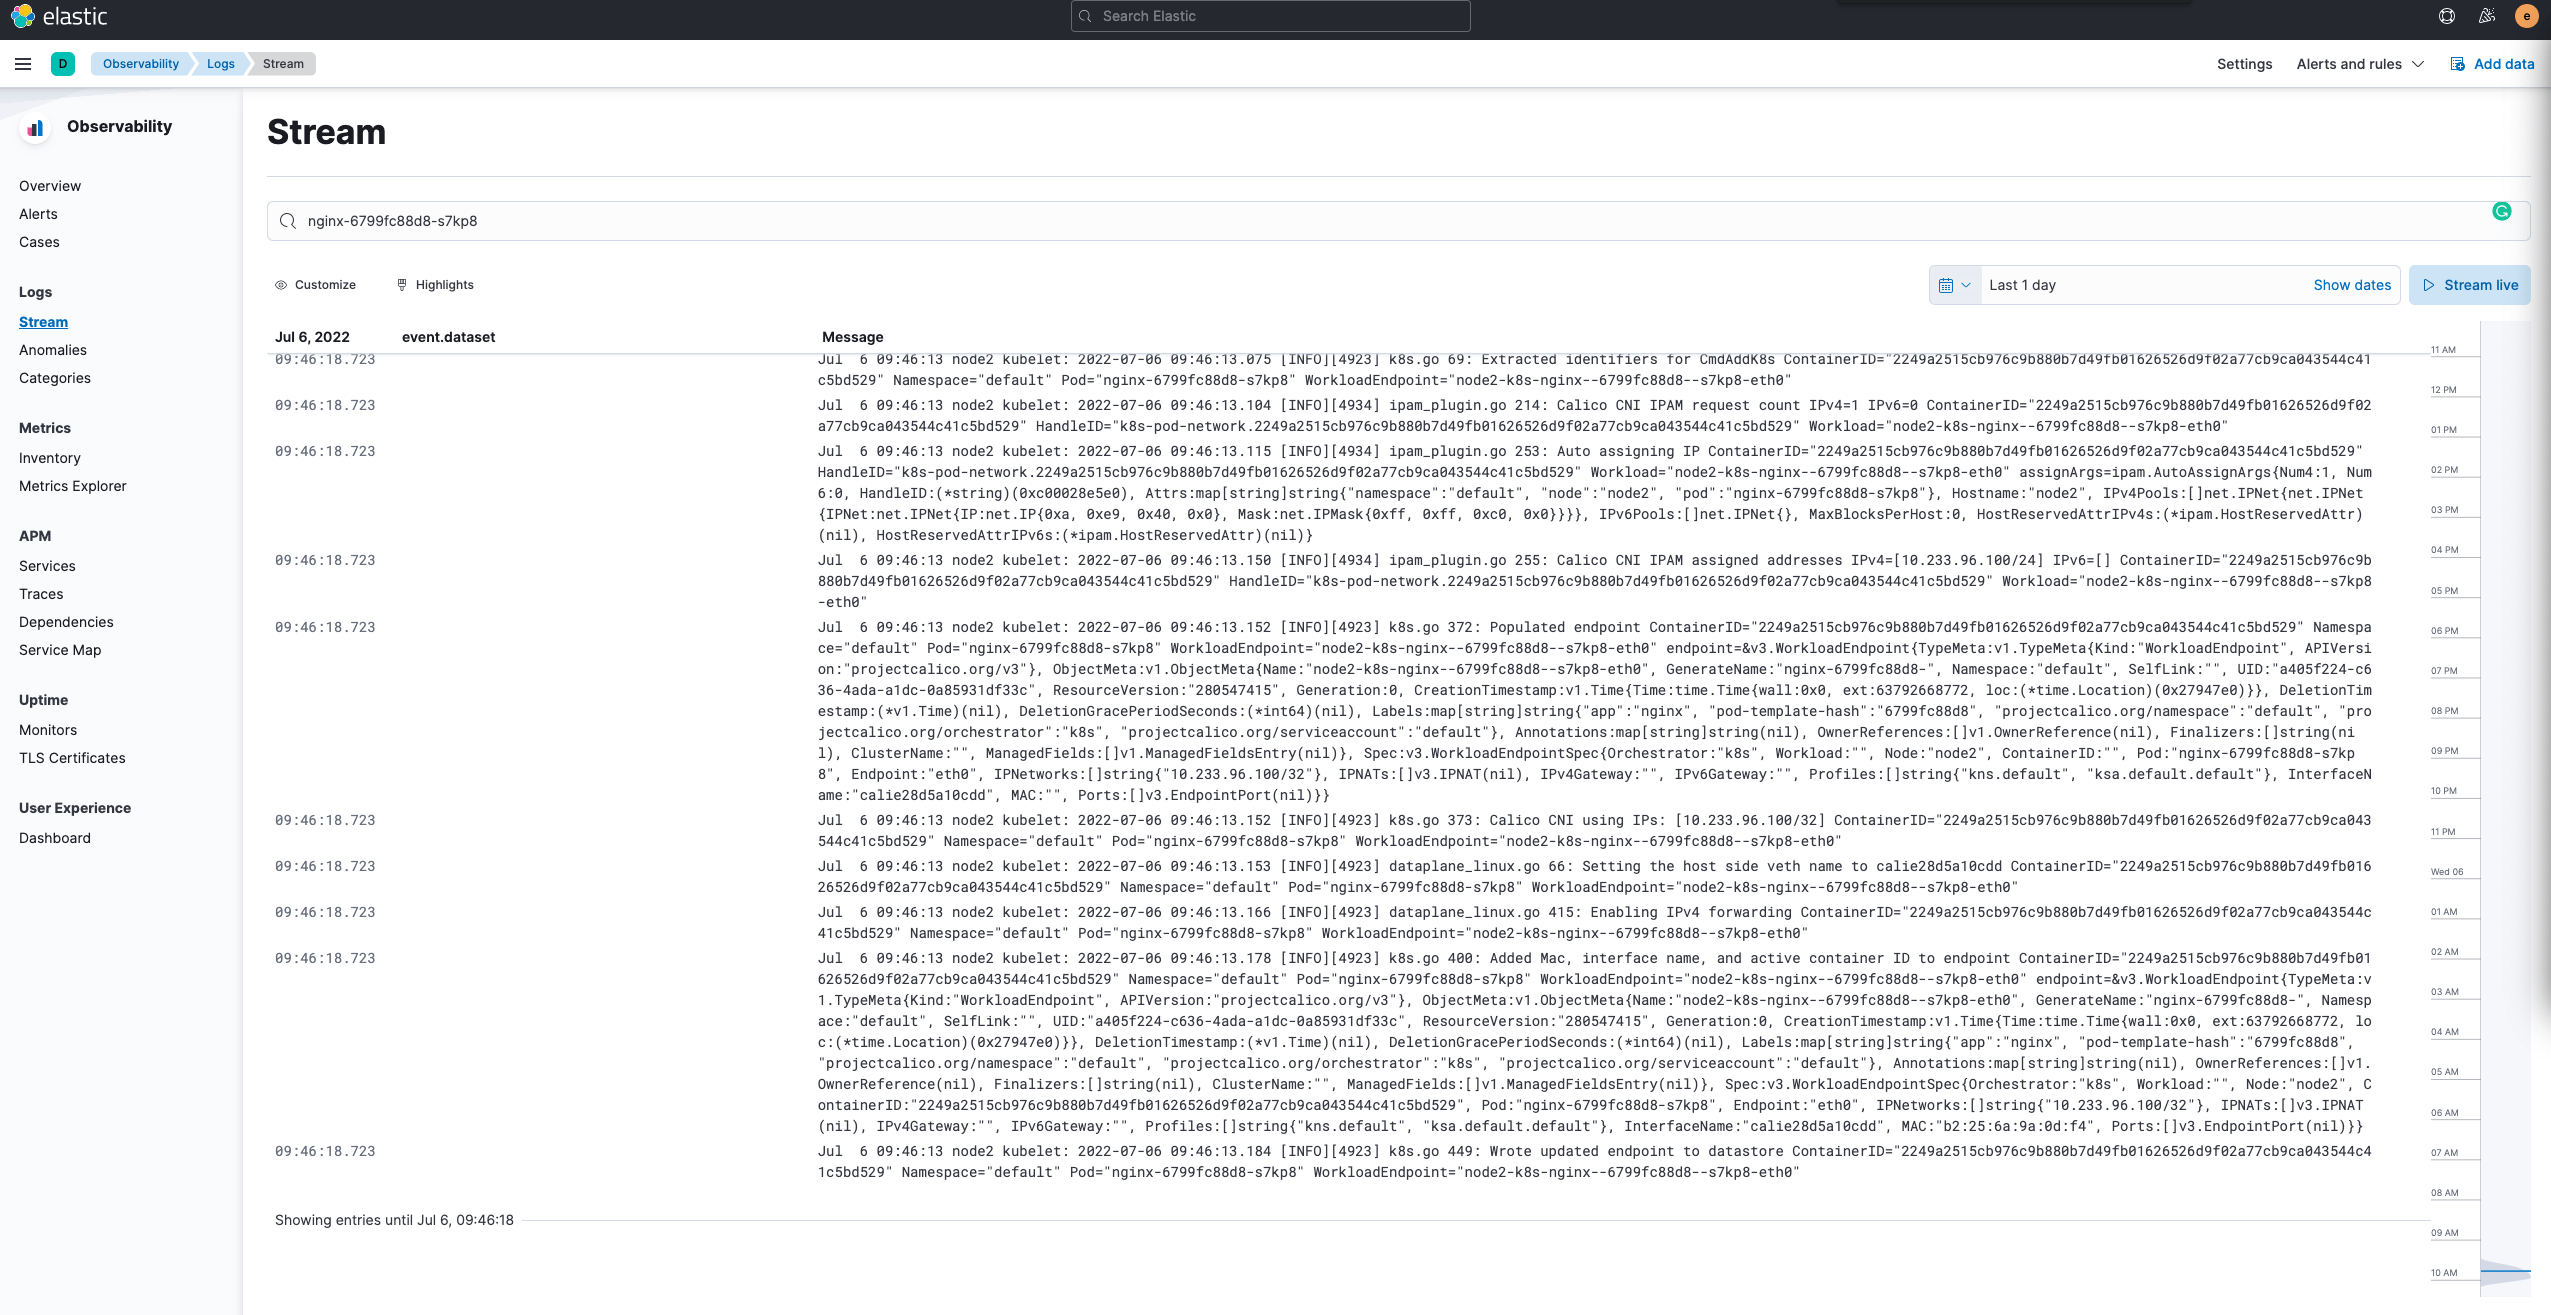
Kibana can be accessed via HOST_IP:30454, as shown below, with the same account as Elasticsearch.


