
Preface
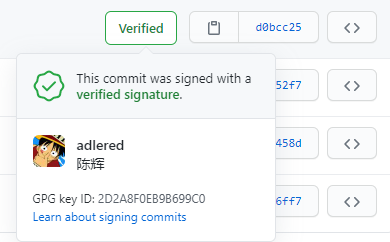
Setting up a GPG key for Git will confirm the password you configured each time you commit, and display a Verified flag in GitHub’s Commit to mark that the commit was actually done by you, and not by someone else.
Tutorials
System Environment
OS version: Windows 10 X64 IDE used: Intellij IDEA
Installation
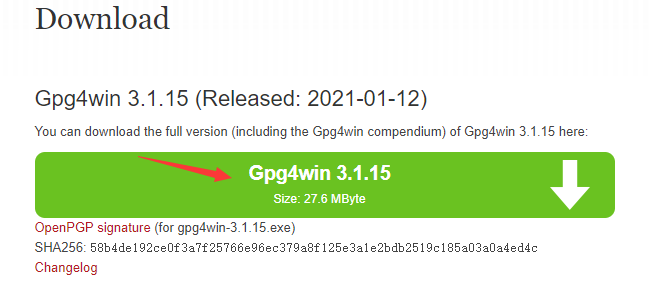
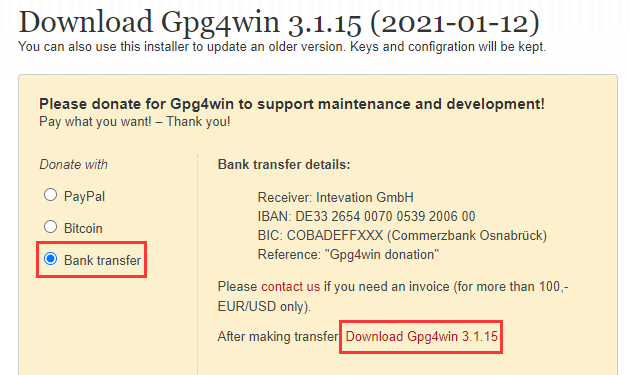
Click here to download and install GPG Tools, follow the instructions in the image below to download the installer

Generate a new key
First, we need to generate a GPG key with a personal message.
Generate the key
|
|
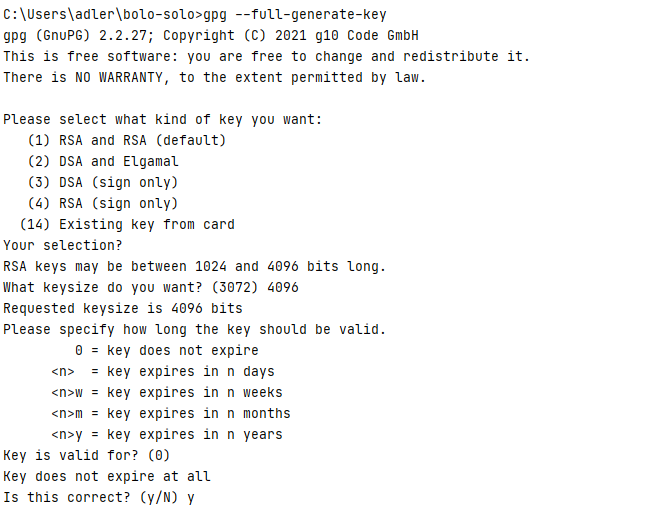
- first GPG will ask what type of encryption key to generate,
just press enter, the default is RSA and RSA method - Ask for the number of bits in the key,
enter 4096 and press enter(GitHub only accepts 4096 bits and above for better security) - Ask for the expiration time of the key, we generally do not want the key to expire,
just press enterto default not to expire - Ask “Is this correct?” to confirm that the information entered is correct, then
type y and enter.
Enter personal information
Once you’ve verified that your information is correct, you’ll need some more personal information.
- Ask for
Real name, fill in your English name and enter to submit it (it can be different from your GitHub username) - Ask for your
Email address. Make sure to fill in the email address that you have verified in GitHub. - Ask for
Comment, and in the comments, fill inGitHub Key(you can fill in whatever you want) - Press o and enter to save your changes

Set password
After setting the personal information, your computer will pop up a password input window, enter the same password twice to set the password for the key (be sure to remember the password)
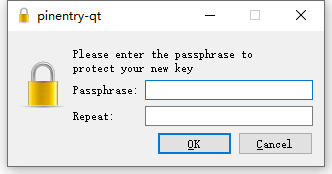
generation is finished
Wait for the certificate generation to finish (if the generation is slow, you can press some random letters in the terminal and slide the mouse twice to provide some random entropy to the key generation)

Bind the key to GitHub
Enter the command to get your GPG Key ID
|
|
Find the uid line with the same information you just set, and find your GPG Key ID in the sec line above the uid line.
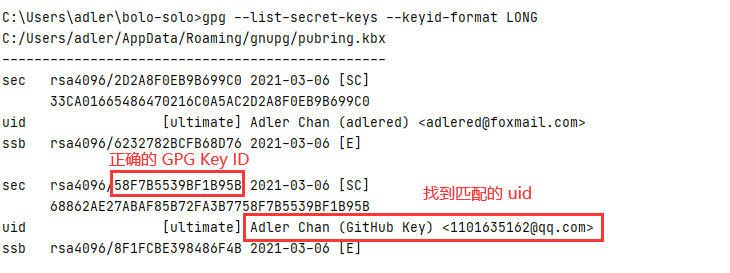
Exporting the complete public key
Use the command
|
|
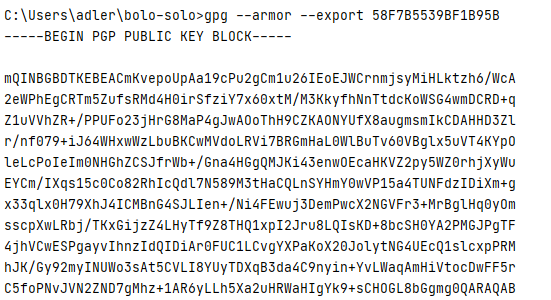
It generates a very long public key that starts with -----BEGIN PGP PUBLIC KEY BLOCK----- and ends with -----END PGP PUBLIC KEY BLOCK----- (including these two lines)
to put the public key in GitHub
Go to GitHub and access your user settings screen
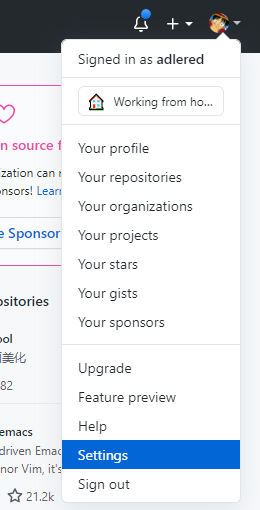
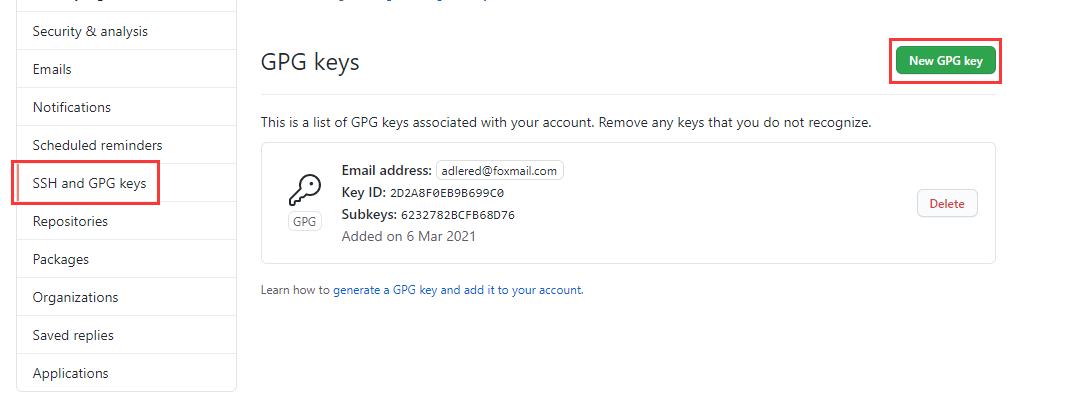
Find the SSH and GPG Keys tab and click on the New GPG key button (don’t make a mistake, don’t make a mistake, don’t make a mistake)
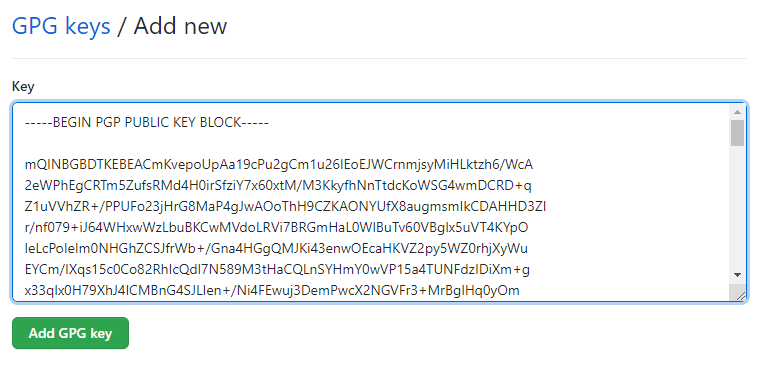
Paste the public key and save it

Binding Keys to Local Git
IDEA calls the local Git, so you can configure Git directly with the GPG Key.
to make sure you have the correct email set for Git
Use the command git config --global user.email to see what email address is currently being used for your git commands, and if it’s not correct, update it with git config --global user.email "new email address".

Assigning a GPG Key ID to Git
Remember the GPG Key ID you just queried? Let git know that it should use that GPG Key.
|
|

will sign all local Commits with GPG by default
You can temporarily use GPG for signing by adding the
-Sparameter to the commit.
|
|

specifies the location of the GPG program.
Every time you commit Git, you need to look for your GPG Key in the GPG program. Since the program directory of the new GPG program has changed, the Git program may not find it and report an error.
|
|

The location of gpg.exe set in the text may be different from the location you installed, please check it carefully and set it.
Testing
With everything in place, make a Commit in your IDEA and Push to GitHub to try.

Each Commit requires the password of the authentication key for verification.
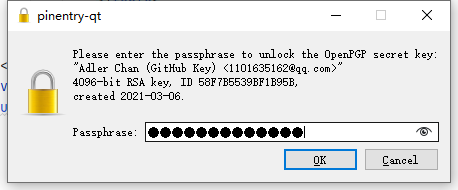
And try pushing it to GitHub.


The encryption was successful, awesome.