In real projects, when you need to do unit testing. But often you find that there are a lot of dependencies. That’s where Gomock comes in handy!
Gomock is an official mock framework for the Go language
Installation
-
Step 1: We will install the gomock third-party library and the mock code generation tool, mockgen, which will save us a lot of work. Just to understand how to use it
-
Step 2: Enter mockgen to verify that the code generation tool is installed correctly. If it does not respond properly, please check if the bin directory contains the binary file
Usage
In the mockgen command, two generation modes are supported
source: generatemockinterface from source files (enabled via-source)
|
|
reflect: generates themockinterface by using a reflection procedure. It is enabled by passing two non-flagged parameters: the import path and a comma-separated list of interfaces
|
|
In essence, there is no difference between the mock code generated by the two approaches. So just choose the right one
Writing test cases
In this article, we will simulate a simple demo to write test cases and get familiar with the overall testing process.
Steps
- Figure out the overall logic
- Define the interface for the desired (simulated) dependencies
- Use the
mockgencommand to generate a mock file for theinterfaceof the requiredmock - Write the logic for the unit tests and use mock in the tests
- Perform unit test validation
Catalog
Writing
interface method
Open the person/male.go file and write the following.
Calling Methods
Open the user/user.go file and write the following.
Generate a mock file
Go back to the root directory of mockd/ and execute the following command
|
|
After the execution, you can find the male_mock.go file in the mock/ directory, which is the mock file. What is the purpose of the commands in the command? As follows.
-source: set the interface file to be mocked-destination: set where the mock file is output, or print to standard output if not set-package: set the package name of the mock file, if not set it will be themock_prefix plus the file name (e.g. the package name in this article will be mock_person)
For more information on the command line, see the official documentation
The output mock file
|
|
Test cases
Open the user/user_test.go file and write the following.
|
|
gomock.NewController: Returnsgomock.Controller, which represents the top-level control in the mock ecosystem. Defines the scope, lifecycle and expected values of a mock object. In addition it is safe across multiple goroutinesmock.NewMockMale: Creates a new mock instancegomock.InOrder: declares that the given calls should be made in order (is a secondary wrapper around gomock.mockMale.EXPECT().Get(id).Return(nil): There are three steps here, EXPECT() returns an object that allows the caller to set the expectation and return value. get(id) sets the input and calls the method in the mock instance. return(nil) sets the output of the previously called method. Return(nil) is to set the reference of the previously called method. In short, it sets the entry and calls it, and finally sets the return valueNewUser(mockMale): creates the User instance, notably, the mock object is injected here, so it’s actually in the subsequent user.GetUserInfo(id) call (input: id is 1). It calls the mock method that we have mocked beforehandctl.Finish(): asserts the expected value of the mock use case, usually withdeferralto prevent us from forgetting this operation
Testing
Go back to the root directory of mockd/ and execute the following command
When you see the result like this, you’re done! You can adjust the return value of Return() yourself to get different test results 😄
View the test
Test Coverage
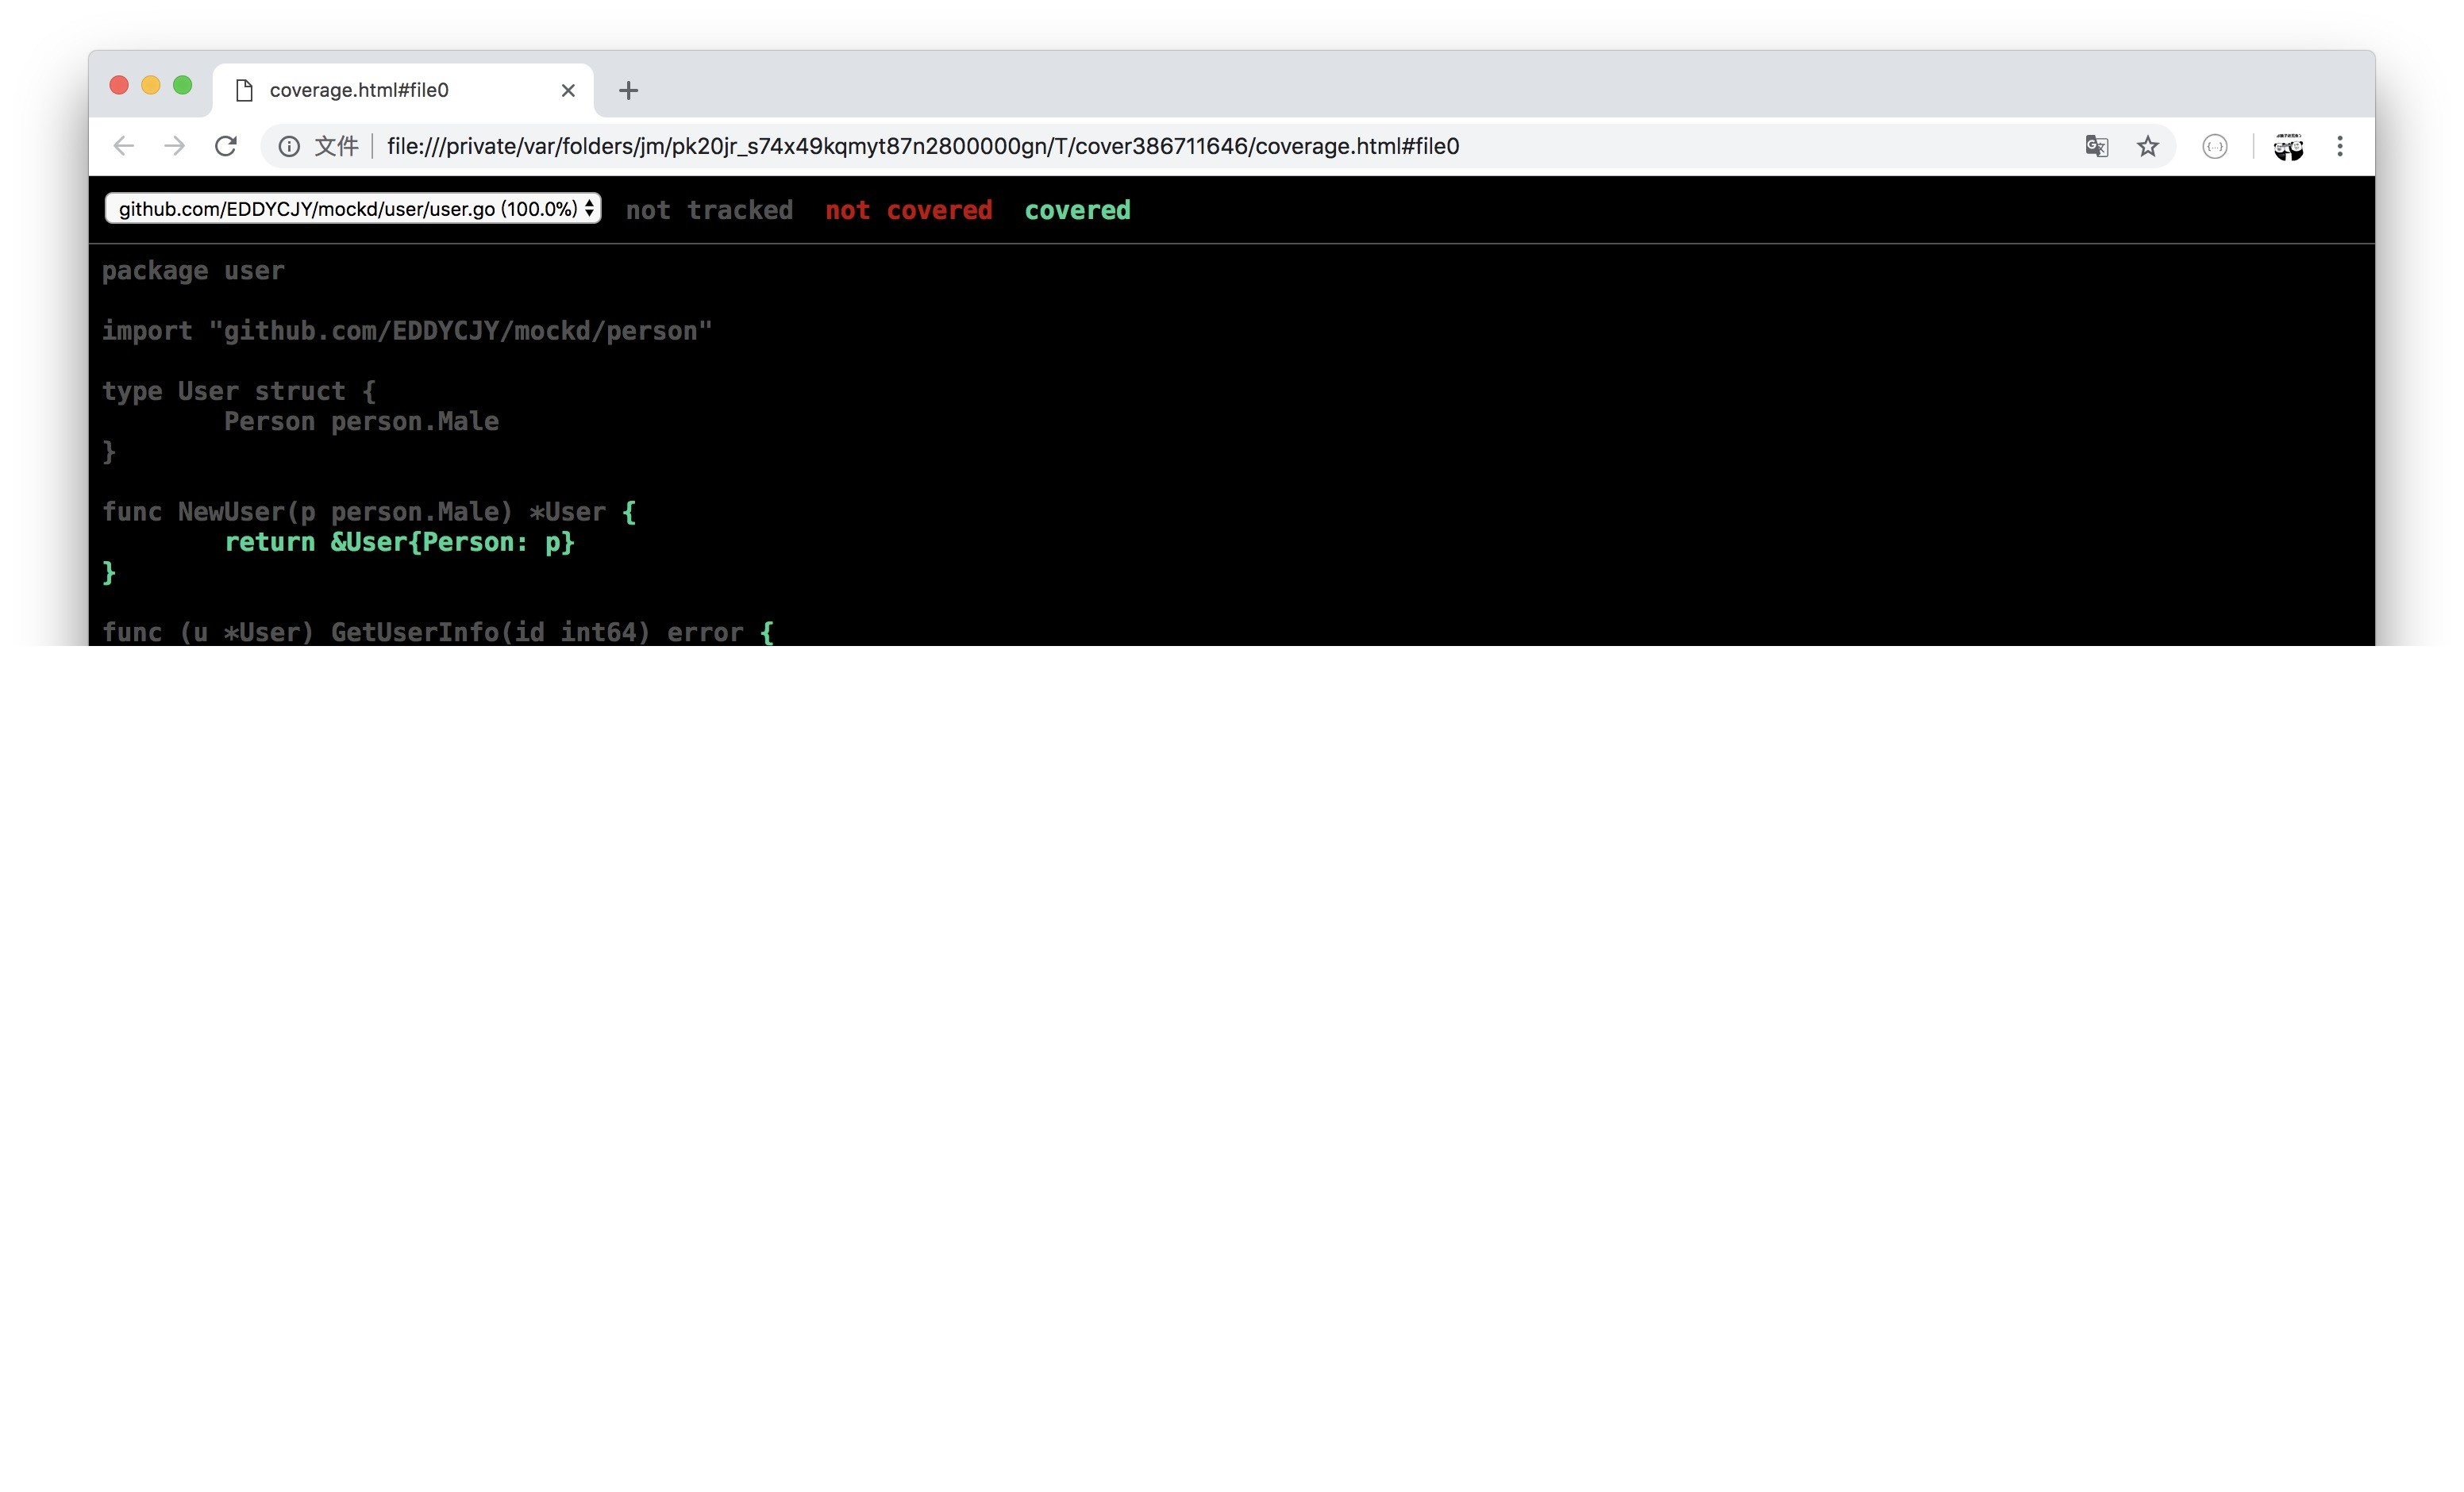
Coverage statistics can be turned on by setting the -cover flag to display coverage: 100.0%.
Visualization interface
- Generate a test coverage profile file
|
|
- Generating visual interfaces with profile files
|
|
- View visual interface to analyze coverage

More
1. Common mock methods
Calling Methods
Call.Do(): declares the action to be run when matchingCall.DoAndReturn(): declares the action to be run when matching the call and simulates returning the return value of the functionMaxTimes(): set the maximum number of calls to nCall.MinTimes(): sets the minimum number of calls to nAnyTimes(): allow 0 or more callsTimes(): set the number of calls to n
Parameter Matching
gomock.Any(): match any valuegomock.Eq(): match to the specified type value by reflection, no need to set it manuallygomock.Nil(): return nil
More suggested methods can be found in the official documentation
2. Generate multiple mock files
Officially, we can use go:generate to do batch processing in a more convenient way
|
|
Modify the interface method
Open the person/male.go file and change it to the following.
We focus on the statement go:generate, which can be divided into the following parts.
- Declare
//go:generate(be careful not to leave spaces) - Use the
mockgencommand - Define
-destination - Define
-package - Define
source, in this case the package path forperson - Define
-interfaces, in this caseMale
Regenerate the mock file
Go back to the root directory of mockd/ and execute the following command
|
|
Checking mock/ again shows that it has also been generated correctly, which is convenient when there are multiple files 🤩
Summary
In the unit testing loop, gomock gives us a great deal of convenience. The ability to mock a lot of dependencies
There are a lot of ways to use it and a lot of features. You can mark it and read the official documentation to remember it better
Reference https://eddycjy.com/posts/go/talk/2018-11-25-gomock/